Rubber Dam Isolation Basics for Hygienists
Improve moisture control and field visibility with proper rubber dam clamp selection, placement, and removal technique.
Why Isolation Matters
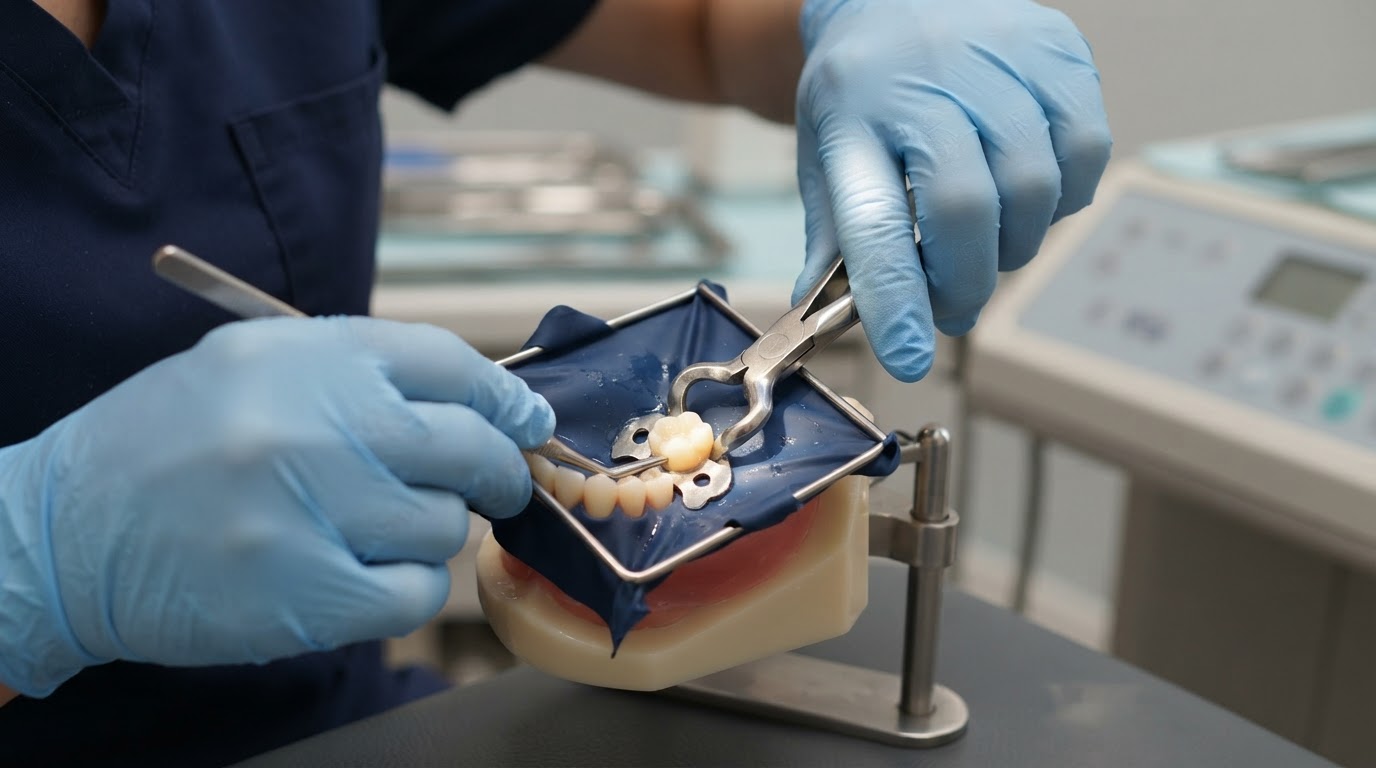
Rubber dam isolation improves field visibility, controls moisture, and reduces contamination. While often associated with restorative procedures, the underlying isolation principles strengthen hygiene procedures that benefit from a dry field.
Clamp Selection and Placement
- Select a clamp that engages the cervical convexity without impinging on soft tissue.
- Test stability before punching the dam; floss ties to the clamp aid retrieval.
- Anchor the dam sequentially from the distal to the mesial of the isolated field.
Safe Removal
Release the anchor teeth in reverse order, remove the clamp with the dedicated forceps, and inspect the dam for tears to ensure no fragment remains.
Practical Takeaway
Choose a clamp that engages the cervical contour, anchor the dam from distal to mesial, and inspect the dam for tears on removal.
Disclosure: This post may contain affiliate links. If you purchase through these links, RDHPlanet may earn a small commission at no additional cost to you. We only recommend products we use and trust clinically. See our affiliate disclosure for full details.
Authoritative Dental Resources
Join the RDHPlanet Weekly Newsletter
Practical, evidence-aware insights for working dental hygienists. Delivered straight to your inbox every Sunday.
Related Articles
Aerosol Control in the Dental Hygiene Appointment
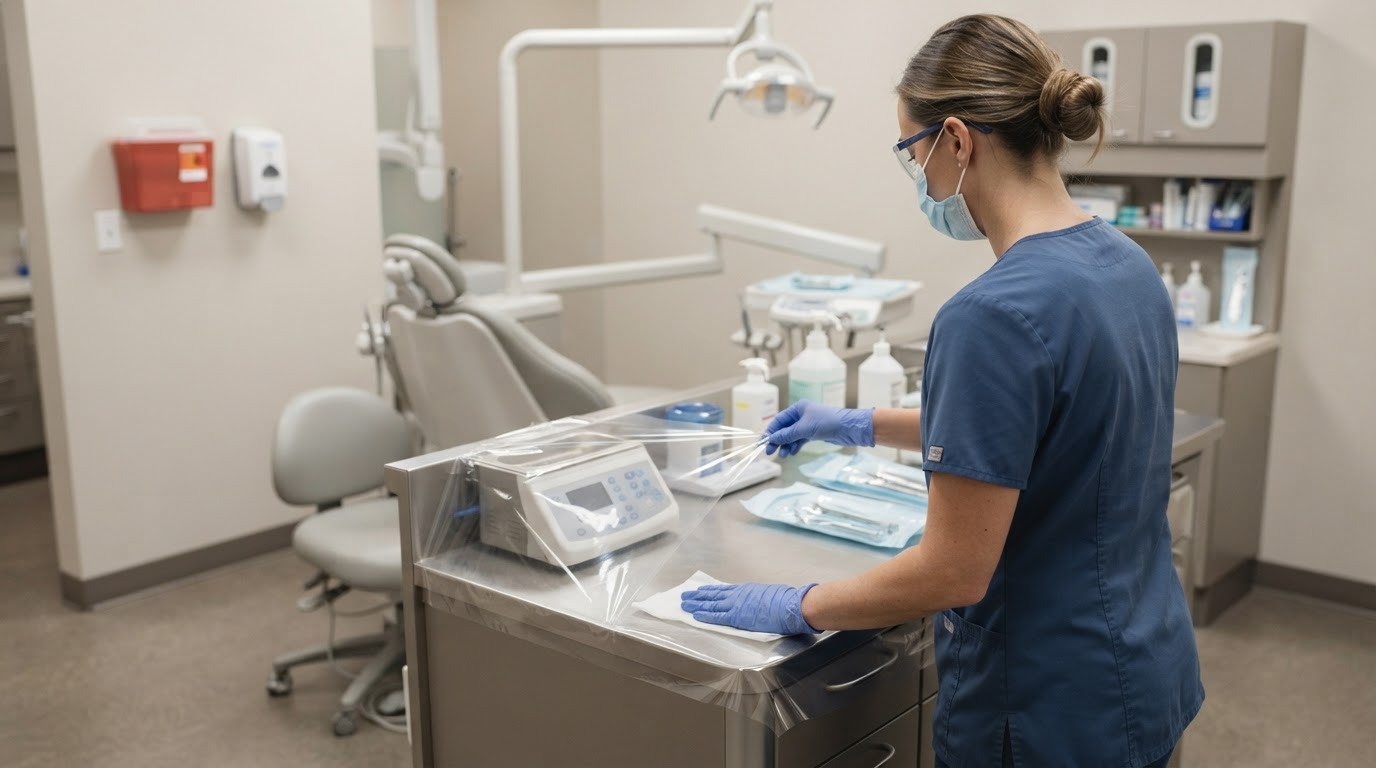
Reduce aerosol exposure with pre-procedural rinsing, high-volume evacuation, and barrier protocols that protect everyone.
A Daily Infection Control Checklist for Hygienists
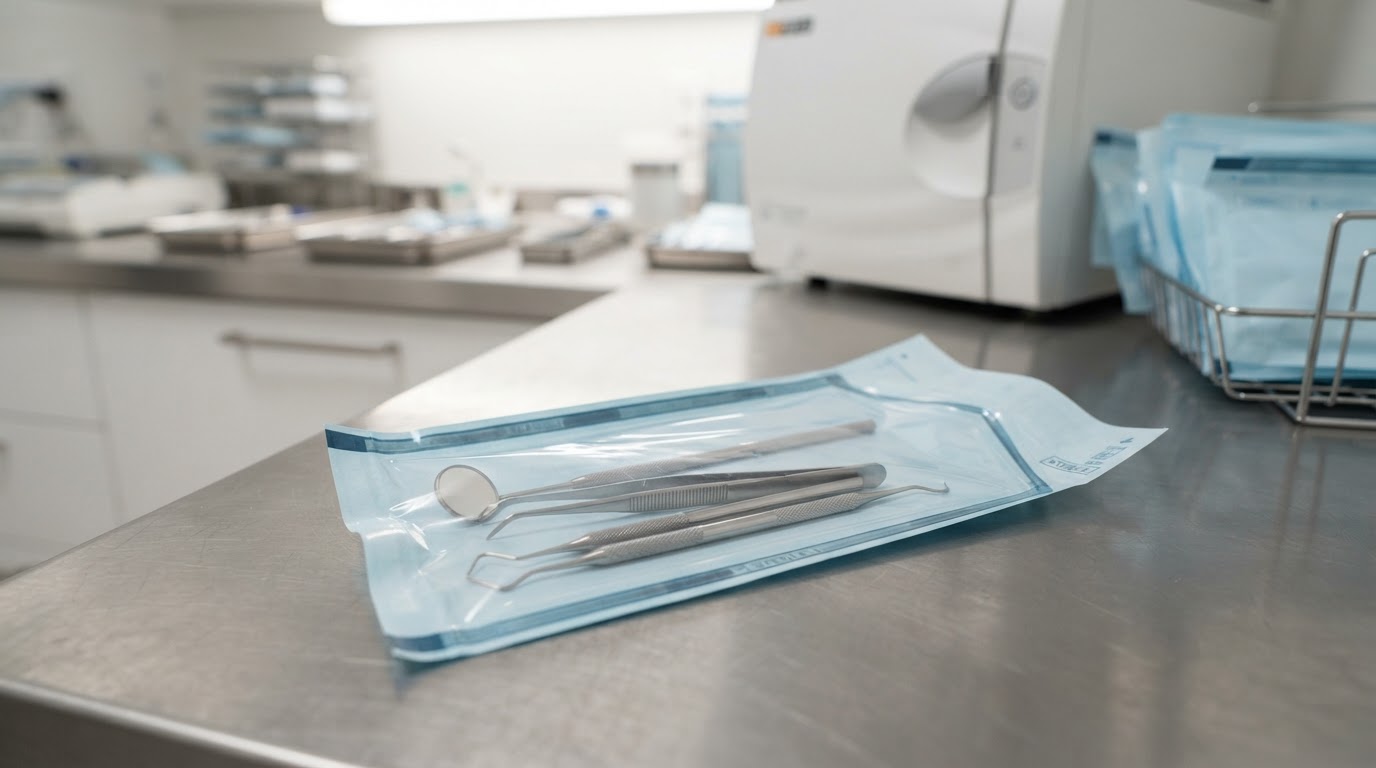
A practical, repeatable infection control checklist covering sterilization, barriers, and documentation for every appointment.